This is my first attempt at a Storytime Blog, stay patient and stay tuned, I hope to post some great stuff.
Showing posts with label Trash to Great Storytime Art. Show all posts

Friday, October 7, 2011

Trash to Great Storytime Art ...

This week's Trash to Great Storytime Art Project is a beautiful Fall Leaf Stained Glass, well sort of stained glass, actually it's tissue paper on wax paper.


The trash - all that colorful tissue paper you get in gift bags, but can't bring yourself to throw out.


The additional supplies - black construction paper, wax paper/saran wrap, scissors, glue and some paint brushes you don't mind throwing away.


This project can be done at anytime of the year, in the Spring or Summer you could do a butterfly or flower shape, or in the Winter you could do a snowflake and just us whites, blues and purples. But, since it is Fall, I decided to go with a leaf. I googled Maple Leaf and used the clip art the create my pattern. I traced and cut the maple leaf out of the middle of a sheet of black construction paper and then taped a piece of wax paper to one side (which becomes the back), you could also use saran wrap, it is a little more difficult to work with, but the colors show through a little better than on wax paper.


I have all of this ready before storytime. Then I set out trays filled with small squares of tissue paper and dishes with a glue & water mixtures. The kids then place the tissue paper squares on the back and paint over them with the glue & water mixture, until the square of wax paper/saran wrap is covered-up. Then when you flip the construction paper over, you have the beautiful fall maple leaf above that they can take home and hang in their window.


An additional step, if you would like is to have a second sheet of black construction paper, with the shape cut out, to place over the back when they are finished so there is no back or front - but this is optional.


Happy Fall - enjoy :)

Monday, September 12, 2011

Trash to Great Storytime Art Projects …

I am a bit of a "bird nerd", so this week I am going to post from a few of my favorite bird themed storytimes. First the Trash to Great Storytime Art Project is a Binoculars.


The trash – toilet paper or paper towel rolls


The additional supplies – yarn, stapler, hole punch, scissors and crayons, markers, stamps or stickers are optional


Take two toilet paper rolls, or one paper towel roll cut in half, and staple them together at the top and the bottom. Punch two holes – one at the top of each tube – like the picture above, and cut a length of yarn to tie into each hole so your little ornithologists can wear their binoculars around their necks. When I use these as a storytime art project, I have all the binoculars already made and put out stuff for the kids to decorate them if they want. I have also used this project with preschoolers at summer camp and they loved them, we went on a bird hike after they made theirs and they were all very serious, quiet and excited about bird watching – we saw a lot of stuff that morning through our toilet paper binoculars:


Check in throughout the week – I will be posting some of my favorite bird story books and songs, and my Flannel Friday post will be about birds too!

Monday, September 5, 2011

Trash to Great Storytime Art Projects …

This week's Trash to Great Storytime Art Project is a Paper Bag Booklet.


The trash – old paper bags (any size) and the old construction paper that no one will ever use J


The additional supplies –scissors, sewing machine or a needle and thread, crayons/markers and miscellaneous things like foamies, stickers and stamps


I actually got this idea from my mom, who made a few of these last summer when my niece and nephew where in town. I thought it would be a fun project for either a family storytime or a program for older children, in which they could write their own stories or start a scrap book. It is best to use bags without printing on them, but if it's going to be a scrap book type project the printing can be covered up by the stuff pasted into the booklet.


They are pretty easy to make, simply cut rectangles out of the old paper bags and fold them in half. You can have as many pages as you want, but make sure you don't have so many that you can't sew everything together. Then cut out a strip of construction about 1 ½ inches wide and as high as the booklet and fold it in half length wise. Slide the piece of folded construction paper over the folded edge of the old paper bags and with either a sewing machine, or by hand, sew down the strip, and you have a cute little booklet.


If you don't have a sewing machine and don't want to sew them by hand you can always either punch holes ½ inch in from the fold and thread yarn threw to keep everything together, or ask around and see if a co-worker, friend or storytime parent has a sewing machine and would be willing to sew them together for you.


Here are examples of a few things that are in my paper bag booklet, from left to right:

1. The end of a story my niece dictated to me and a picture we drew to go with the story.
2. A picture my niece drew of my dog, I took a picture of the picture and printed it out to put into the booklet.
3. A picture I drew and my niece colored in and added some stickers.


Enjoy!!!

Wednesday, August 31, 2011

Trash to Great Storytime Art Projects …

Sorry, this is a two days late – been a little hectic. This week's Trash to Great Storytime Art Project is a Paint Pallet.


The trash – Styrofoam meat trays


The additional supplies –scissors/knife, paper (or something to paint), paint and paintbrushes


STYROFOAM MEAT TRAYS CAN BE RUN THROUGH THE DISHWASHER TO GET OFF ALL THE YUCKIES!!!
I did an Art Storytime back in the spring and read books like I Ain't Gonna Paint No More by Karen Beaumont and I'm the Best Artist in the Ocean by Kevin Sherry. For an art project at the end of storytime I wanted to let the kids paint a picture of their own, but I wanted to make the experience a little different. So, I came up with the idea of making paint pallets, that way not only would they feel like a real painter, but I could have all the paint squirted out and ready to go and they would each get their own paint to work with. A few days in advance, I drew up a pattern for a fancy paint pallet and used scissors, or you could also use a knife, to cut a paint pallet out of a meat tray. Then right before storytime started, I squirted a little red, yellow and blue onto each paint pallet and when it was time to paint, I let each kid have their own. My original idea was to let them take the paint pallets home, but as they were painting I realized that it would be a little too much for the parents to not only get their kids to the car with a wet painting, but a wet paint pallet also. Therefore, I decided to keep the paint pallets and save them for another time – recycling the recycling J


Monday, August 22, 2011

Trash to Great Storytime Art Projects …


This is actually my first post on my new blog and also a kind of trial run to make sure everything works for this coming Flannel Board Friday!!!


So, without further ado … We all know money is tight and in some budgets it may be non-existent, so one of the things I like to do when I plan art projects for my storytimes, is to use supplies that are free. What kinds of supplies are free you ask? Trash I say!!! Things that would normally go into the garbage or the recycling bin can be used to make beautiful art. One family's trash is a children's librarians treasure! J Before I became a children's librarian I worked in childcare, so I understood the importance of doing activities on a tight budget, but I was never much of a trash hoarder. When I started my first job at a library, I met "The Queen of Anything & Everything Can Be Saved", and it quickly rubbed off on me. Now I have bags all over the place stuffed full of eggs cartons, toilet paper rolls, cardboard, yogurt cups, Styrofoam meat trays, plastic applesauce & fruit cups, bottle caps, even old CD's and the little plastic rings that are left when you are done with a roll of tape. Crazy you say – well, I have found many uses for these and other trash over the past few years. So, I will try to post a fun, cheap and easy art project every Monday, that uses everyday trash that you, your co-workers, family, friends and even storytime parents can collect.
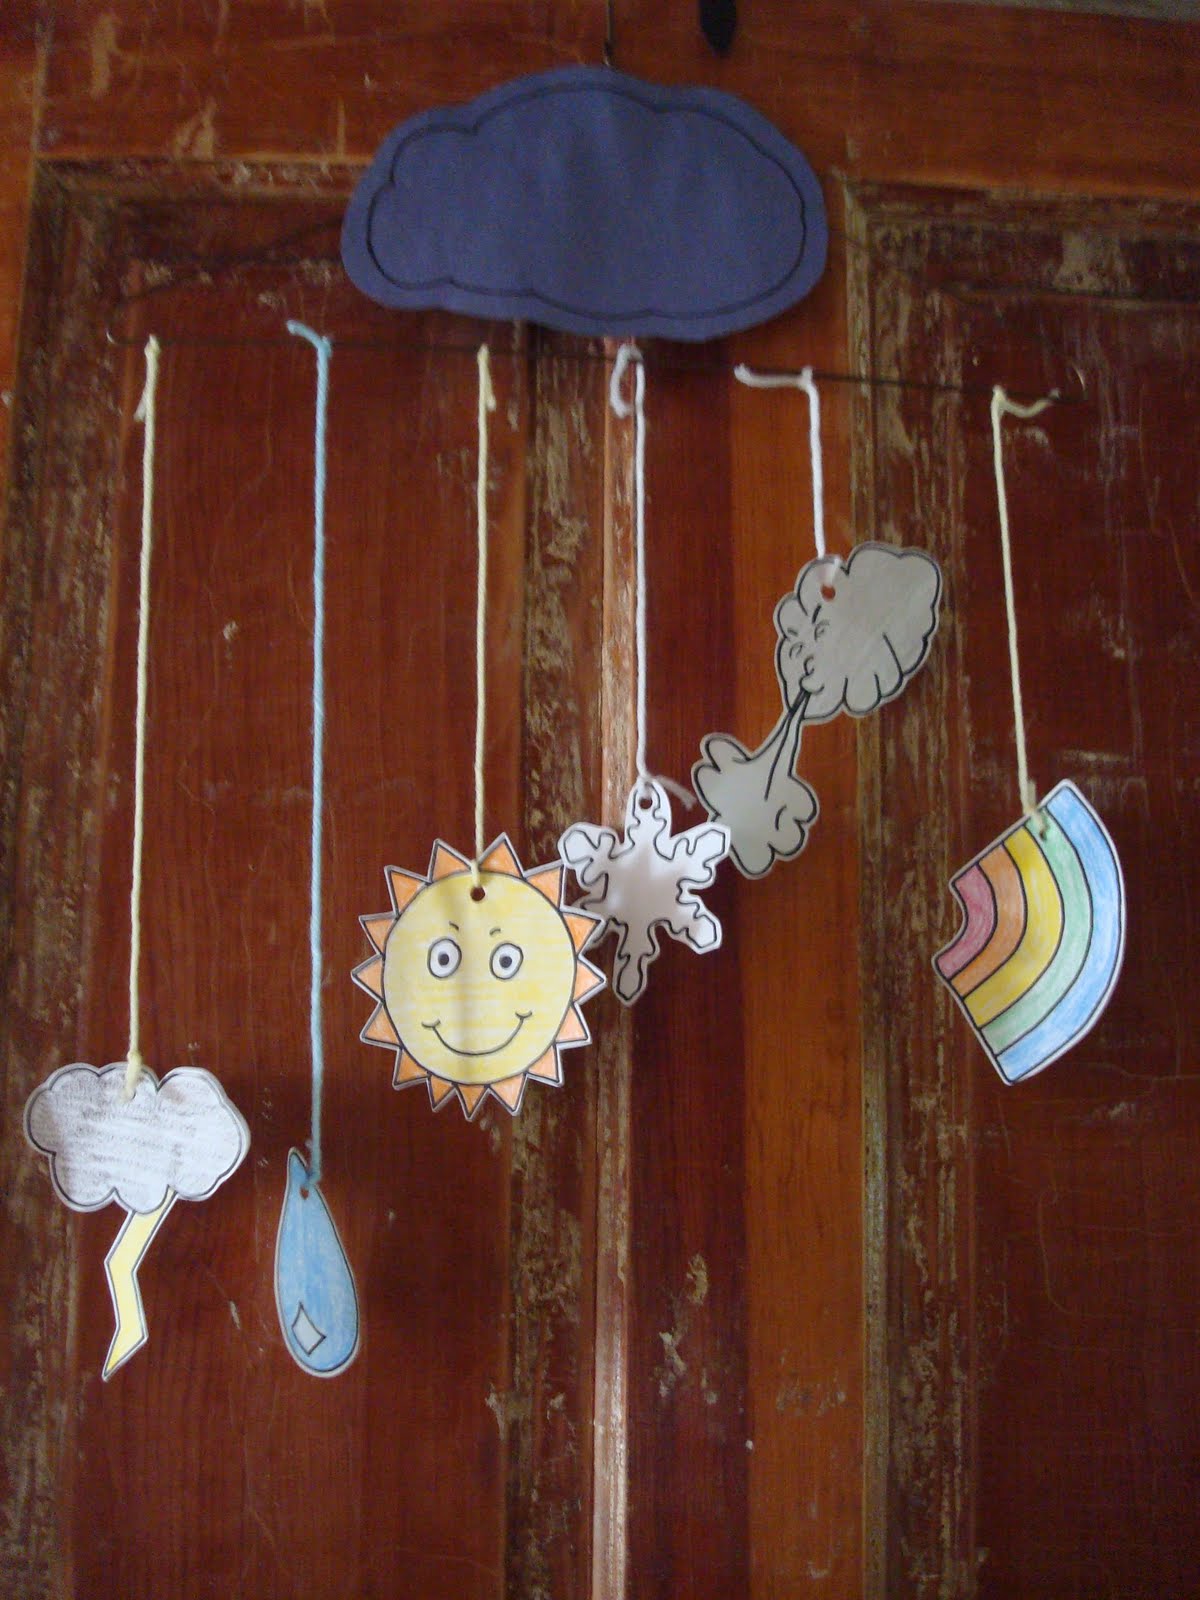
My first Trash to Great Storytime Art Project is a Weather Mobile.
The trash – WIRE COAT HANGERS
The additional supplies – paper, yarn, crayons, scissors, tape and a hole punch.


I started asking everyone I knew for wire coat hangers about a month in advance to make sure I had enough (my back-up plan was to go out and find sticks). I ended up getting about three times as many hangers as I needed, but we packed them away neatly and a co-worker used them to make fairy wings a few months later.
Once I had all the hangers collected, I cut out a large blue cloud and taped it to the coat hanger, so the space up there wouldn't look empty. Then I drew the different elements of weather you see on my mobile (thunder cloud, raindrop, sun, snowflake, windy cloud and rainbow) on a sheet of paper and made one copy for each child in storytime. They colored, cut-out and hole punched the ones they wanted to use and chose pieces of yarn, I had pre-cut, to tie them onto the hanger. Just like that, a cut little mobile for them to hang by their window.
Now I realize that this seems like a lot of work to do during storytime, but at the library I did this project at, I was lucky to have a great group of parents who knew to bring their elementary skills to storytime. I try to have some stuff already cut out for the younger side of the preschool crowd, but I also feel it is important for the kids to practice skills like cutting and tying. I laid out a few single hole punches, but I also ran around with one punching as many hole as I could.
I have a PDF of my weather shapes if anyone would like me to e-mail them a copy. Although, you don't have to do weather, you can pick anything you want and Google images to make your patterns.
Until next week – don't throw it away!